How To Pack For A Culinary Weekend Trip Without Overpacking
A practical step-by-step guide to How to pack for a culinary weekend trip without overpacking, including preparation, instructions, common issues, tips, and next steps.
How To Pack For A Culinary Weekend Trip Without Overpacking
A culinary weekend trip works best when your bag supports cooking, tasting, and moving between places without weighing you down. This guide helps you build a compact kit around the meals you plan to make, the clothes you can rewear, and the small tools that matter. You will choose a single bag, plan outfits by activity, pack ingredients and tools in layers, and leave room for purchases. The goal is calm preparation: you carry only what you will use, you know where every item sits, and you can repack quickly after a market visit or a long dinner.
Fast Answer
- Pack one soft-sided carry bag and build around three meals, two outfits, and one pair of comfortable shoes.
- Lay out every item first, remove one third, then place heavier tools and bottles at the bottom against your back.
Before You Start
- Check the trip plan and note which meals are provided, which are eaten out, and which you will cook yourself.
- Ask the host or venue whether a kitchen, refrigerator, or shared cooler is available so you know what food you can store.
- Wash and fold only the clothes that fit the weather and the planned activities, then set them in one pile.
- Read any travel or venue guidelines about food, liquids, and tools, and confirm details with the provider before you pack.
Step-by-Step Instructions
Choose one bag and set a firm limit
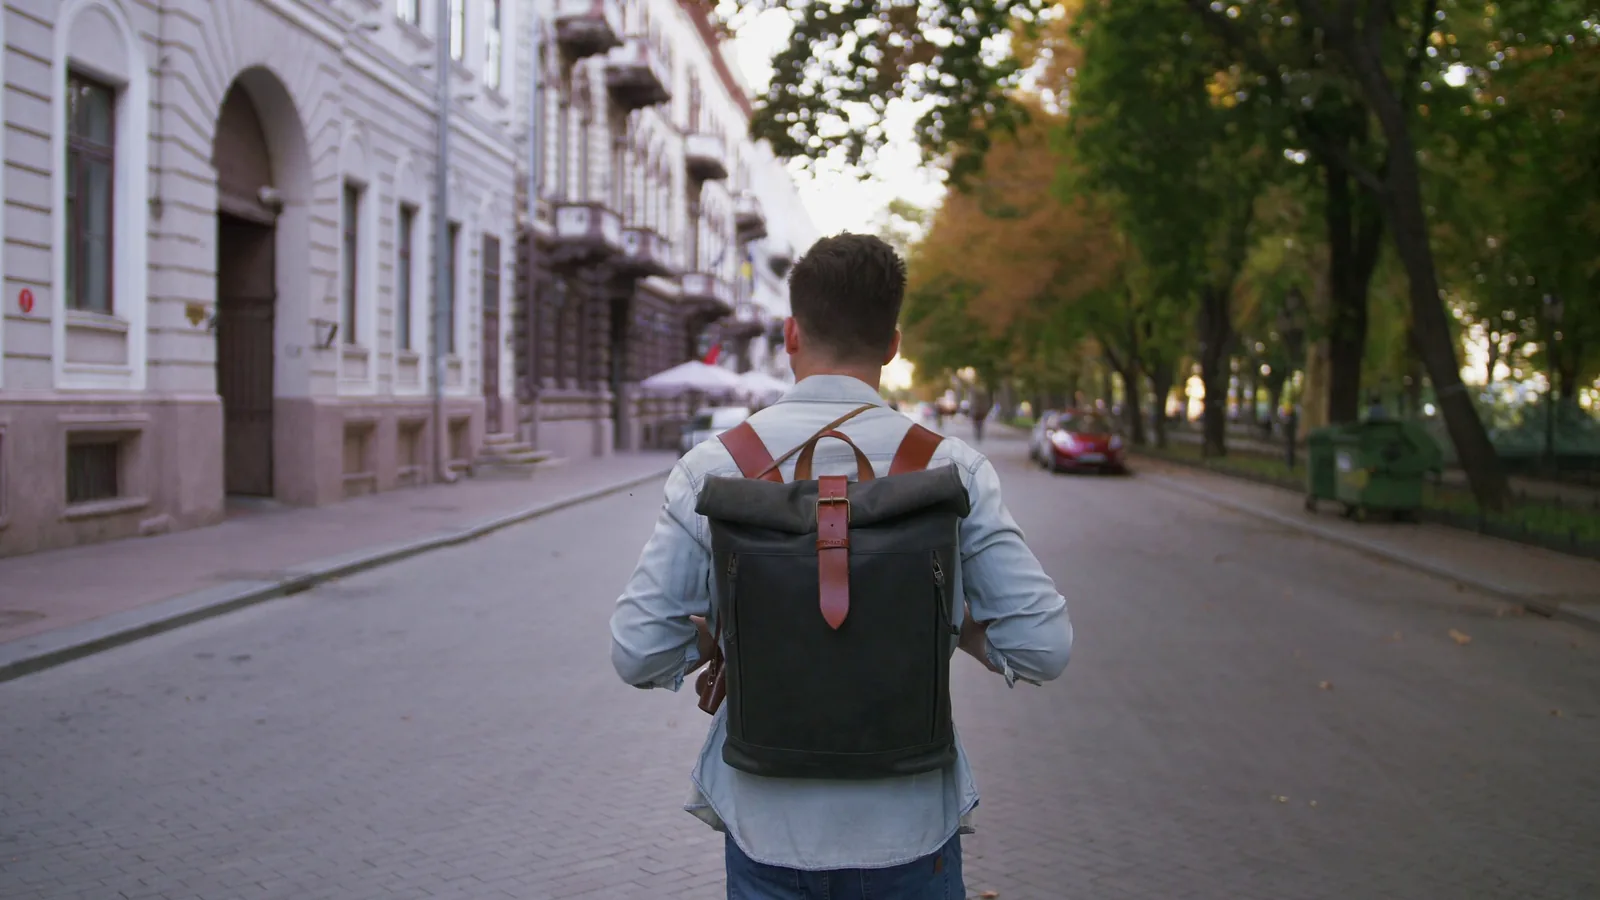
Start by choosing a single soft-sided bag that fits under a seat or in a small overhead space, because one bag forces every item to earn its place. Open it fully and place a small pouch for tools, a cube for clothes, and a flat sleeve for papers and a notebook. Set a firm rule: nothing goes in unless it supports cooking, eating, or the weather you expect. Walk around the room with the bag partly loaded to test the strap and your balance. A practical check is to lift the bag with one hand and hold it for thirty seconds; if your arm tires or the bag pulls you sideways, remove an item before you continue. This check matters because a bag that feels fine on a carpet can become tiring on stairs, trains, or long market walks, and a tired carrier makes poor food choices later.
Plan meals and build a short ingredient list
Write the meals you will actually eat during the trip, then mark which ones you will cook and which ones you will buy ready to eat. For each meal you cook, list only the ingredients that are hard to find or that you want to control, such as a spice blend, a small jar of sauce, or a favorite dry good. Leave fresh produce, meat, and dairy for a local market near your destination, because those items travel poorly and take space. A practical check is to read your list aloud and ask whether each item will be used in one meal or two; if it appears in neither, cross it out. This check matters because ingredients packed for a maybe-meal add weight and can leak, and a short list keeps your bag light while still letting you cook something you enjoy.
Lay out clothes by activity and rewear
Lay every clothing item on a bed and group it by activity: travel day, market visit, cooking session, and dinner. Build two outfits from items that mix well, and choose fabrics that dry quickly and hide small stains. Add one layer for cool evenings and one apron or overshirt that protects your clothes while you cook. A practical check is to touch each item and ask whether you can wear it twice before washing; if not, set it aside unless the trip is very short. This check matters because cooking sessions produce splashes and odors, and clothing that cannot be reworn doubles your load while giving you fewer useful options. Place the heaviest and most durable items at the bottom of the bag and fold lighter items on top so they stay smooth.
Pack tools and ingredients in layers
Place tools and ingredients in a fixed order so nothing leaks onto clothing. Put sealed dry goods and a small pouch of utensils at the bottom, then a folded towel or cloth, then your clothes, and finally a thin bag for dirty items. Wrap any bottle in a cloth and seal it inside a reusable pouch, and keep powders in double bags because fine dust escapes easily. A practical check is to turn each container upside down and shake it gently over the sink before it goes in; if anything escapes, reseal it or leave it home. This check matters because a single leak can ruin clothes and papers, and a layered bag lets you lift out one section without disturbing the rest when you arrive at a kitchen or a guest room.
Test the bag with a short walk and a repack
Load the bag completely, then walk for ten minutes around your home or outside, including stairs if you can find them. Notice where the strap digs, whether the bag swings, and whether the top stays closed. After the walk, open the bag and repack it once from empty, timing yourself to see how long it takes. A practical check is to reach for your utensil pouch and your travel papers without looking; if you cannot find them quickly, change the order. This check matters because you will repack in small rooms, busy kitchens, or on a train seat, and a bag that only works when perfectly arranged will slow you down. Adjust the strap, remove one item, and repeat the walk until the bag feels steady.
Leave room and plan the return
Keep about a quarter of the bag empty when you leave, because markets, bakeries, and shops often send you home with more than you planned. Pack a light foldable tote for overflow and a few small reusable pouches for messy or strong-smelling items. Before the return trip, sort what you used and what you carried for nothing, and note the items you would leave behind next time. A practical check is to set aside anything you did not touch by the final morning and place it in a separate pile; if that pile is large, your next bag can be smaller. This check matters because the goal is a repeatable system, and honest review after each trip keeps your kit focused on tools and clothes that truly support cooking and eating well away from home.
Quick Reference
| Situation | Action | Why it helps |
|---|---|---|
| You are deciding whether to bring a favorite pan or tool. | Check the trip plan, the venue rules, and the weight of the item, then choose the lighter version or leave it home and confirm what the kitchen already provides. | A heavy tool adds strain on every walk and stair, and many kitchens already have basic equipment, so checking first prevents needless weight. |
| You want to pack fresh food for the first meal. | Confirm storage and transport guidelines in your booking or provider information, then pack only sealed dry goods and buy fresh items at a local market after you arrive. | Fresh food travels poorly and may be restricted, while local markets give you better quality and support the cooking part of the trip. |
| Your bag is full before you add clothes. | Remove the least-used tool or ingredient, repack the remaining items in layers, and test the bag on a short walk before adding anything else. | A bag that is already full cannot accept market finds or a wet towel, and a short walk reveals strain before you leave home. |
Common Issues
- The bag feels too heavy after packing.: Empty the bag, weigh each group of items, and remove the two heaviest items that serve only one meal; then repack and walk for ten minutes to confirm the bag feels steady.
- Liquids or powders leak onto clothes.: Seal every bottle and bag inside a reusable pouch, wrap it in a cloth, and place it at the bottom below a folded towel so any escape is absorbed before it reaches fabric.
- You cannot find tools when you arrive.: Use a small pouch for utensils and keep it in the same spot every trip; before leaving, reach for it without looking and move it if your hand hesitates.
Advanced Tips
- Freeze a small sealed bottle of water and use it as a cool pack next to delicate items, then drink it once it melts.
- Carry a flat cloth and a short length of cord so you can dry tools or hang a damp towel in a small room.
- Photograph each layer as you pack and keep the images on your device so you can rebuild the exact layout on the way home.
Final Checklist
- One bag only, with a quarter left empty for market finds and gifts.
- Two mix-and-match outfits plus one cooking layer and one weather layer.
- A sealed tool pouch, a cloth, and a bag for dirty or wet items.
- Confirmed venue and transport rules from your own booking or provider.
FAQ
How many outfits should I pack for two days?
Pack two full outfits that mix well, plus one cooking layer and one weather layer. Choose fabrics that dry quickly and can be worn twice, and wear your bulkiest items on travel day so they take no space in the bag.
Should I bring my own knives and tools?
Bring only the tools that the kitchen may lack and that you use for your chosen dish, such as a small peeler or a whisk. Check venue rules and pack them safely in a sealed pouch so they cannot damage clothing or other items.
What should I buy at the destination instead of packing?
Buy fresh produce, bread, dairy, and any heavy liquids after you arrive. Pack only sealed dry goods and the one or two special ingredients that are hard to find, which keeps your bag light and leaves room for local finds.